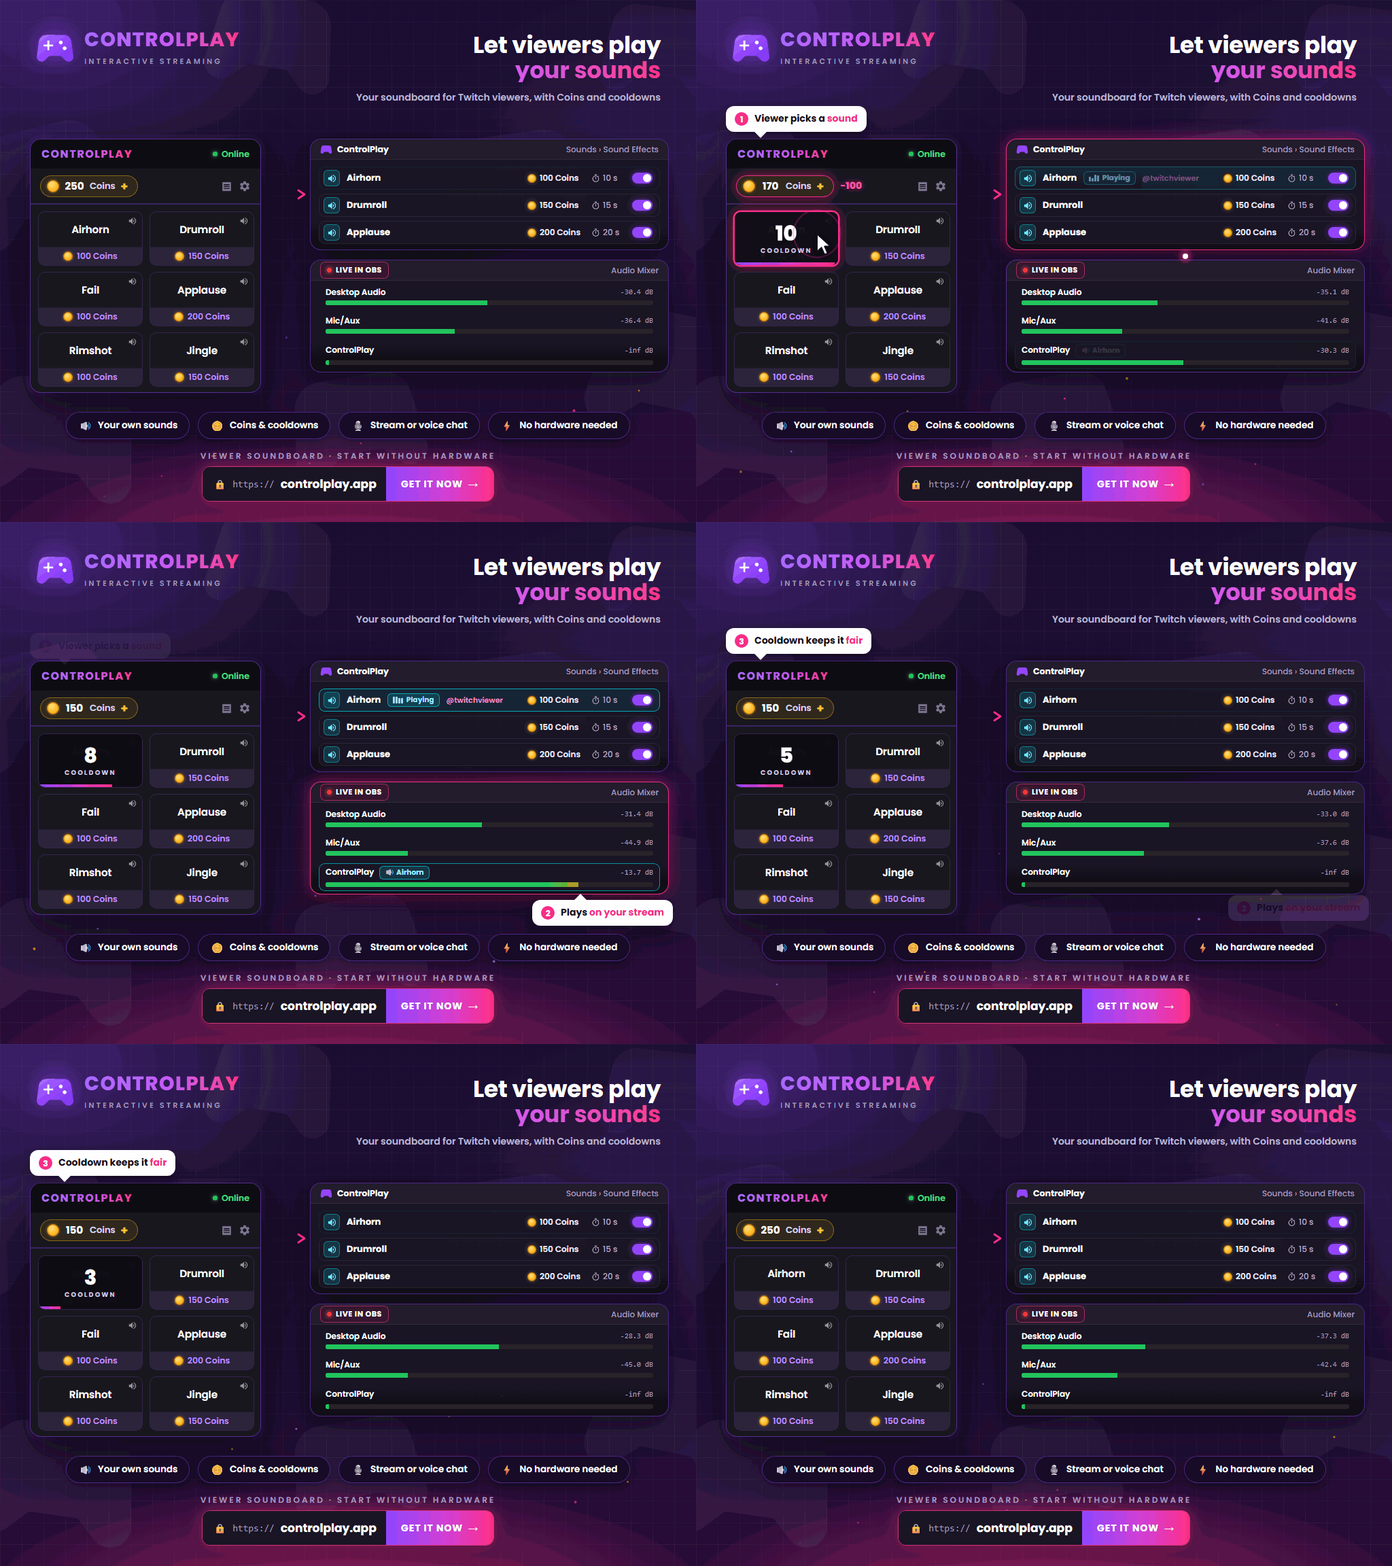
A Twitch soundboard lets viewers choose from audio clips that you prepared. Unlike automatic follow, subscription or raid alerts, viewers deliberately trigger these sounds through the ControlPlay Twitch Extension. You decide which sounds are visible, how often they can play and which audio device carries them.
This guide takes you from your first sound import to a live test with a second Twitch account.
Choose between a soundboard and a Twitch Alert
Twitch's built-in Alerts can play one configured alert when a specific custom Channel Points reward, or any custom reward, is redeemed. You add that alert set to OBS as a Browser Source. This works well when one reward should always produce the same response.
A soundboard instead gives viewers a menu of sounds that you configured. Use it when viewers should choose what plays rather than trigger one fixed alert.
Set up ControlPlay and its Twitch Extension
You need a Twitch account, a ControlPlay account, a Windows PC and the ControlPlay desktop client. Sounds do not require the optional USB device. Keep the client running and connected while you stream.
Create your account, connect Twitch and install the client. Then install the ControlPlay Twitch Extension. In Creator Dashboard → Extensions → My Extensions → ControlPlay → Activate, assign it to Overlay 1. Desktop viewers can then open ControlPlay inside the video player. Twitch shows Overlay Extensions only while a channel is live, so plan a short test stream before launch.
ControlPlay Sound Effects. Importing an audio file does not put it in the viewer menu. First create and enable a Sound Effect from that file. You can then set its Coin amount, cooldown, playback, volume, game availability, audio output and DND availability.
Add audio and create viewer Sound Effects
Start with three to five clips that are easy to tell apart. Give each effect a name that makes the result obvious, such as “Air horn” or “Wrong answer”. Viewers can use a short, clear menu more easily than a long list of similar inside jokes.
In the ControlPlay desktop client, open Media → Import Sound and choose your audio. ControlPlay accepts MP3, WAV, OGG, FLAC and WEBM files up to 20 MB each, with a maximum of 50 stored sounds. Search by name or tags and mark frequently used files as favorites. Remove long silence at the beginning before importing. Compare the volume with your microphone and game audio so the clip does not drown them out.
Next, open Sounds → Add Effect, select the imported file and add a short viewer-facing description. Select games in the game filter when the effect should appear only while one of them is active. Leave the filter empty to make it available in every stream.
Set playback, Coins, cooldown and DND
The sound editor offers two playback modes:
- Full Sound. Plays the complete file.
- Fixed Duration. Plays only the section covered by the duration you set on every repetition.
Set repetitions and fade-out separately. A repetition value of 1 plays the file once in total. With a higher value, either the full file or the fixed section plays that many times. Preview the complete result after every change. Start with Full Sound, Repetitions: 1 and a cooldown that prevents several immediate triggers in a row.
Set a Coin amount and cooldown for each effect. Turning off the Sound System removes all Sound Effects from the Extension without deleting their files or settings. During DND mode, only effects that you explicitly marked as available in DND remain visible. Leave loud, long or deliberately disruptive clips unavailable there.
Capture sounds in OBS or play them in voice chat
For normal playback, ControlPlay sends the sound to the Windows audio device you selected. OBS carries it to viewers only when it captures that device or ControlPlay itself. You do not need an OBS Browser Source for ordinary ControlPlay sounds. The ControlPlay Alerts browser source is only for alert banners and their sounds. The OBS setup guide shows how to add it.
When ControlPlay uses the same device as the rest of your PC audio, Desktop Audio will usually capture it. To record ControlPlay separately, add Application Audio Capture (BETA) in OBS Studio 28 or later on Windows 10 version 2004 or later, or Windows 11, then select ControlPlay. Do not capture the same sound through Desktop Audio as well, or it may reach the stream twice. Check the ControlPlay meter in the Audio Mixer and make a local recording with your microphone and game audio. If you use Twitch VOD Track, check the livestream and VOD separately. The OBS audio guide explains both ways step by step, including what to switch off with Application Audio Capture.
For voice-chat sounds, set up and enable Ghost Voice first. Choose Voice Chat as the Sound Effect's output. ControlPlay then plays it through ControlPlay Virtual Mic. Select that microphone as the input in Discord, TeamSpeak or the game and test it there.
Open Mic mode does not require USB, but the target app must use voice activity detection. Automatic Push to Talk requires a connected ControlPlay USB device. With an external mixer, choose the Voice Chat device under Settings → Audio and send the mixed microphone and ControlPlay sound to the input used by Discord or the game. Enable the effect only after it reaches the target app's microphone test. Compatibility depends on that app and its audio settings.
Keep Coins, Channel Points and Bits separate
ControlPlay Coins have no monetary value and cannot be transferred. Viewers use them to trigger the sounds you configured. In the optional Channel Points beta, you can set up to three rewards and a conversion ratio. ControlPlay automatically calculates the Coin credit after each redemption. This route creates no revenue and no 80/20 allocation.
After Twitch monetization onboarding, general Bits and Cheering, subscriptions, Channel Points, emotes and badges can be available without Affiliate or Partner status. Payouts and Bits in Extensions still require an eligible Affiliate or Partner channel. Bits must also be enabled on that channel.
On eligible channels, viewers confirm through Twitch either a permitted interaction predefined by ControlPlay or a selected Coin package. Package Coins appear in the viewer's wallet only after Twitch confirmation. Coin packages do not change which direct Bits interactions Twitch permits. Custom or uploaded sounds therefore remain Coin actions. The same restriction covers free-form TTS, requested music or audiovisual content, and sounds sent to Discord or in-game voice chat.
Twitch currently applies the same program to permitted direct interactions and Coin packages. An eligible streamer receives 80% of one US cent per used Bit, and ControlPlay receives 20% as the Extension developer. Twitch can change or end the program. The Twitch monetization guide explains both routes in more detail.
Use only audio you are allowed to stream
A meme sound, film quote or song excerpt is not automatically safe to use just because it is short. Use audio you created or audio whose license explicitly covers Twitch livestreams, VODs and clips. A personal music subscription or a purchased recording normally grants private playback rights, not broadcast rights.
Twitch may mute affected VOD sections and remove associated clips. A rights holder can still submit a copyright complaint. Removing a sound from the VOD track changes only the recording mix; it does not authorize the live use.
Fix silent, delayed or doubled soundboard audio
| Problem | Check first |
|---|---|
| Effect is missing from the Extension | Is the effect enabled and the Sound System on? Also check DND, game filter, client connection and the linked Twitch channel. |
| Sound is visible but silent | Does preview work? Check the selected Windows audio device and the effect volume. |
| You hear it, viewers do not | Is OBS capturing the correct source? Check its meter, mute state and live track with a local recording. |
| Sound reaches the stream twice | Is Repetitions above 1? Also check whether Desktop Audio and Application Audio Capture record the same sound or monitoring feeds back into Desktop Audio. |
| Sound is missing from the VOD | Is the ControlPlay source assigned to the VOD track? |
| Playback starts late | Does the file begin with silence? Also check the client connection and preview. |
| Viewers cannot trigger it | Check effect status, Coin balance, cooldown, DND and the game filter. |
| Voice chat receives nothing | Is Ghost Voice active? Check the Voice Chat device, target-app input, microphone permission and Push to Talk key. |
Take your soundboard live
Create your ControlPlay account, connect Twitch, start the desktop client and activate the Extension in Overlay 1. Preview every Sound Effect in ControlPlay, then make a complete local OBS recording with your microphone and game audio. Finally, start a short test stream and trigger every effect from a second Twitch account. When the livestream and VOD both sound right, you are ready to go live.
If spoken viewer messages suit your stream better, continue with the Twitch TTS setup guide. The ControlPlay promotion guide explains how to show viewers where to find your ControlPlay actions.
Official sources reviewed on August 13, 2026
- Twitch: Alerts for Twitch events
- Twitch: Set up Alerts
- Twitch: How to use Extensions
- Twitch: Current streamer feature access
- Twitch: Channel Points setup
- Twitch: Channel Points Acceptable Use Policy
- Twitch Developers: Extension guidelines and Bits restrictions
- Twitch: Earning revenue from Bits in Extensions
- Twitch: Music Guidelines
- Twitch: DMCA and copyright FAQ
- OBS: Application Audio Capture
- OBS: Audio Mixer Guide
- OBS: Twitch VOD Track Guide